How do I create an edpnet trunk in 3CX
CreatING a SIP trunk
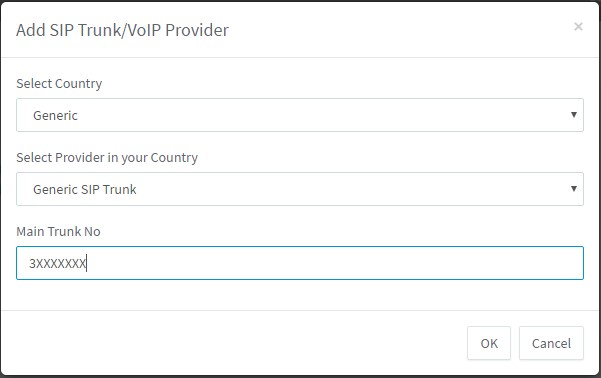
1. In the 3CX Management Console menu, select SIP Trunks > Add SIP Trunk.
2. Select Belgium as country and EDPNET as provider. Fill in your main number (for example 36480100).
3. Click OK. The SIP Trunk will be created and a new dialog box will open.
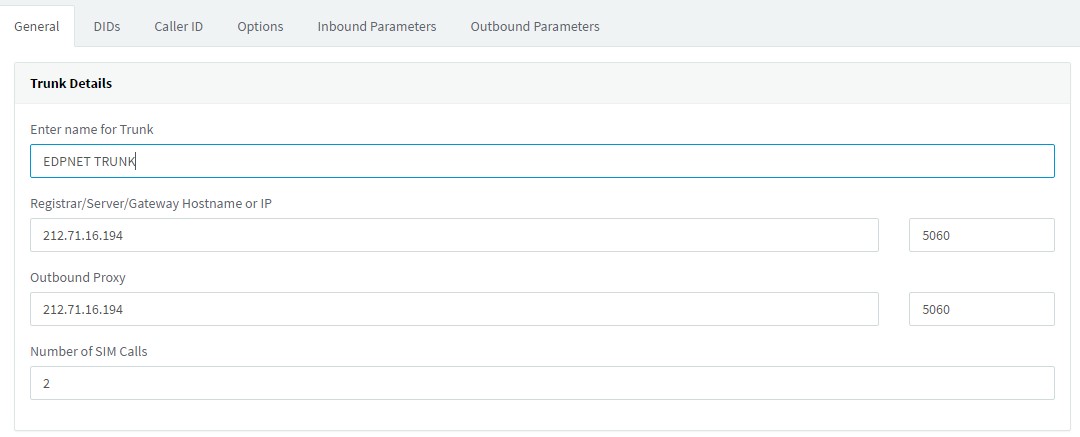
4. Enter a name (for example, EDPNET) for this VoIP provider account. The SIP server hostname or IP and optional Outbound Proxy will be pre-filled. Compare these with the details you have received from your VoIP provider and check if they are indeed correct. For edpnet the default IP registar is: 212.71.16.194 and 212.71.16.196.
5. Specify the Number of simultaneous calls your provider allows.
6. In the Authentication tab select Do not require – IP Based for the type of authentication. If you selected a template, this will be automatically pre-defined and you must leave it as is.

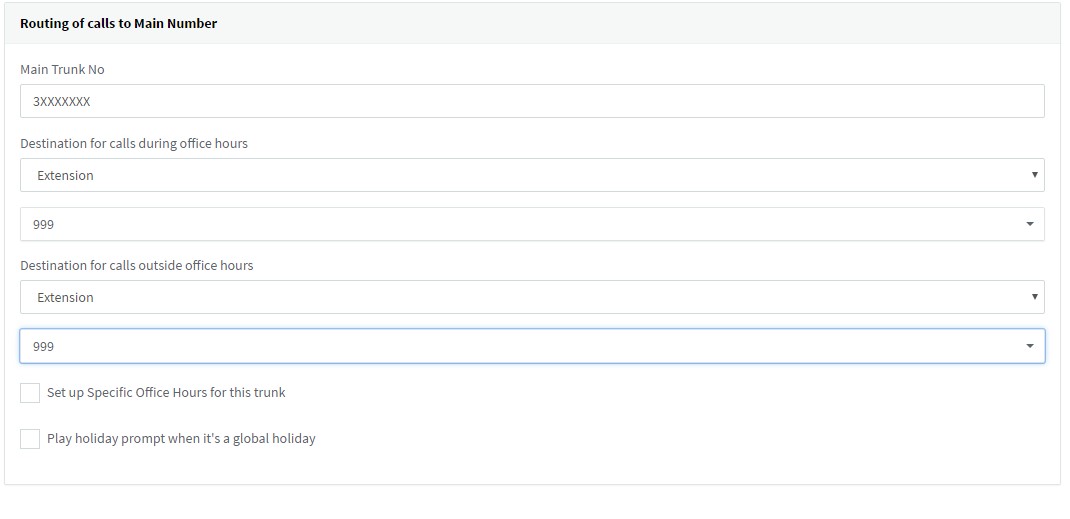
7. Specify how calls to the main number should be routed. The routing configured here will be for calls matching the main number.
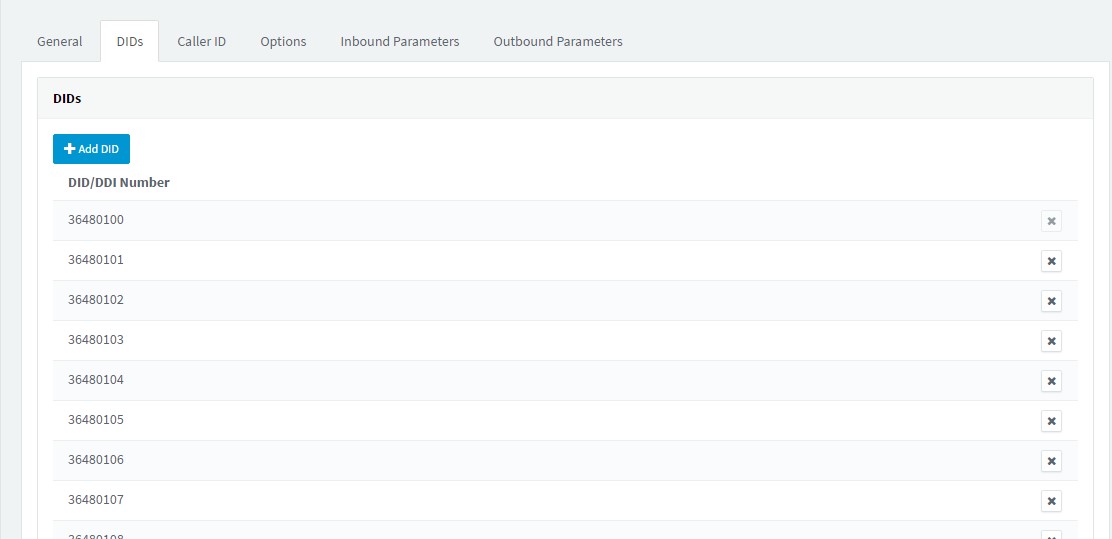
8. If you have DID numbers, you will need to specify these in the DIDs tab. Click on the DIDs tab and add the DID numbers associated with this account. The DID will be created and linked to the operator extension. You can change this later from the Inbound Rules node by adding an inbound rule for the DID and routing it to the desired destination.
9. In the Caller ID tab, add the caller ID you wish to have appear on outbound calls.

10. Click OK to save the trunk settings.
Creating an Outbound rule to route calls over the SIP Trunk
1. Go to the Outbound Rules node and press Add to create a new rule.
2. Decide which calls should be routed over this trunk.
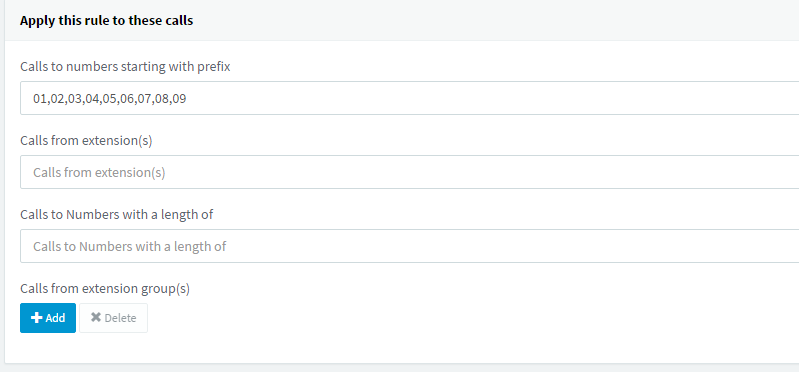
3. In the Make Outbound Calls section select the trunk you just created.
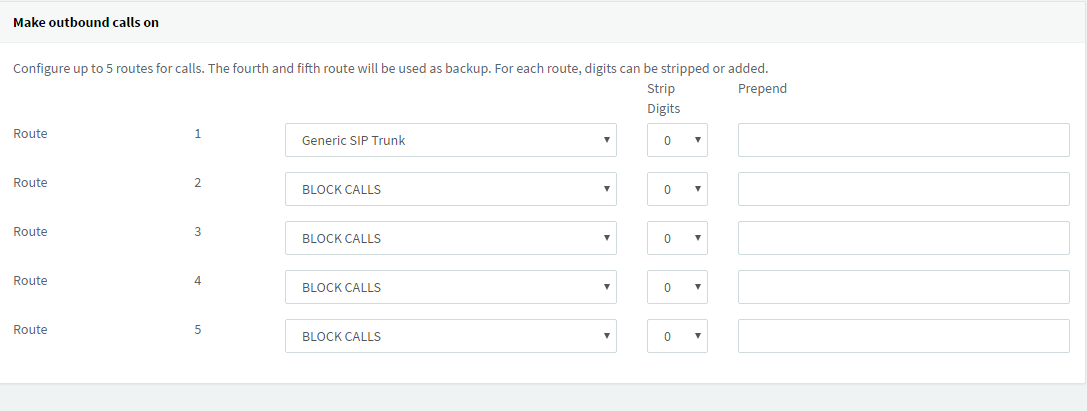
4. Click OK to create the outbound rule.
5. For more detailed information about creating Outbound rules, see this document.
